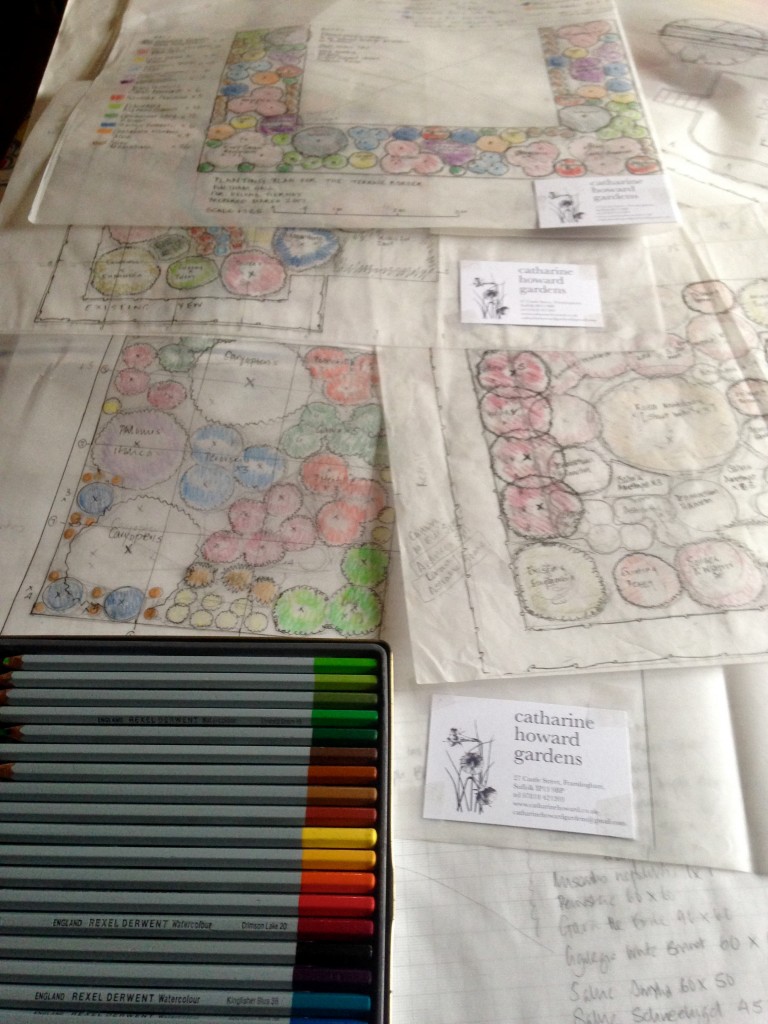
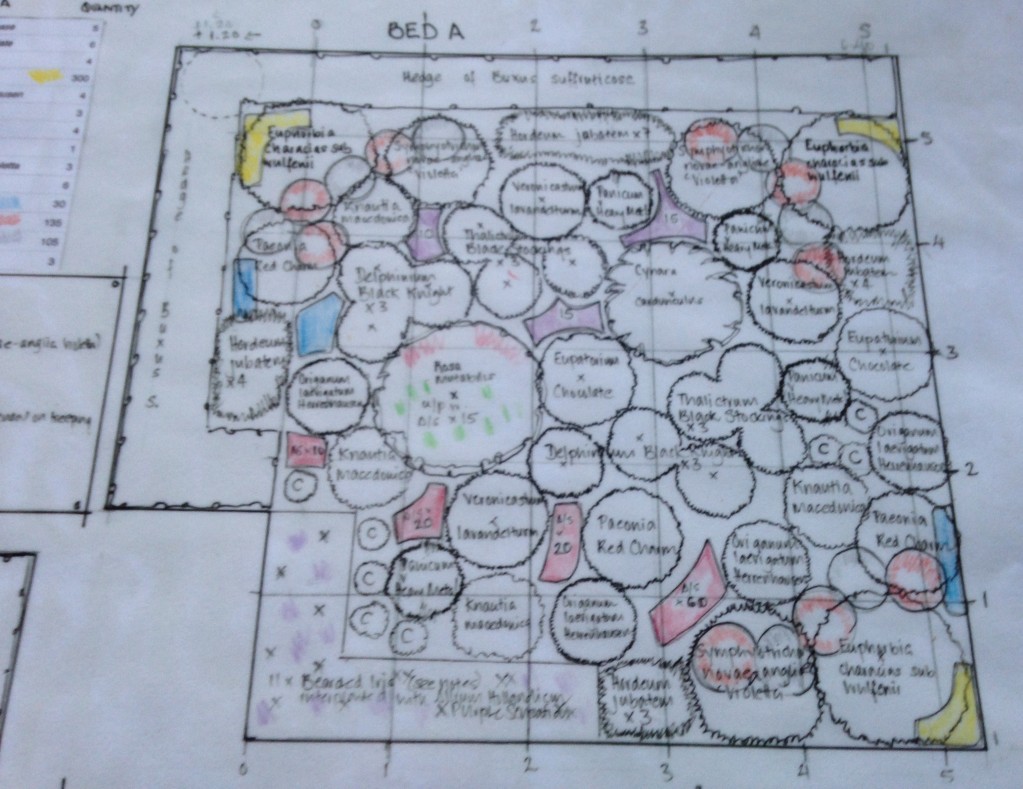
This week I have mostly been spending time on planting plans and fending off the breath of chaos breathing down the back of my collar as I juggle with 6 or 7 different projects. It’s worth sharing some knowledge. THERMOMETER: Plant choice is worked out with my customers who can have as little or as much input as they want. The temperature of the mind’s desire is teased out so I can put expectation together with the strictures of site and soil. Set up a joint Pinterest Board - really handy in the thermometer department. MEASURE the area of the flower bed - pacing it out will do. What you are after is the square meterage of the plot or bed. The solid reason for doing this is that you can then quantify how many plants you will need. PLANT SWATCH: Think of it like decorating a room. Decide on an agreed list of plants chosen for height, seasonality, co-planting, colour, textures. Once this has been decided on, I never add any extras - these plants have become the swatch to work off. It is unlikely that all the plants will get used. Bulbs are the only late additions. For a border of any size there will always be a ‘filler’ plant or two to scatter through the planting - linaria, foxgloves and columbines are strong candidates. An extra tier of perennials may be added if the plan is top heavy on slow growing shrubs. PLOTTING ON PAPER: Arm yourself with tracing paper and put a grid of metric paper behind if - these makes working out areas much less abstract. HEIGHT AND SPREAD: Have these measurements pencilled down beside all the swatch plants and measure them off on a circle template.
  COLOUR AND KEY: As plants get chosen from the swatch, they get coloured in and onto a key. This allows you to work out the rhythm of the planting. It will make for speedier placing and planting as well. INKED UP AND SPREAD SHEET: I then go over the feint pencil and Caran d’Ache runes in pen and as the plants get set in ink, I open up a spread sheet on the computer and put in names and amounts. GRIDDED UP TOO: Last of a mark a grid at one metre intervals along both axes - you will mark this out on the ground before planting and that will show you where to place the plants.
  LAMINATE: Get your final copy laminated - this saves paper disintegrating in the rain and will be a useful future log of what went where. HANG EASY: Be very ready to move plants around in the future. The original plan should not be set in stone.
